
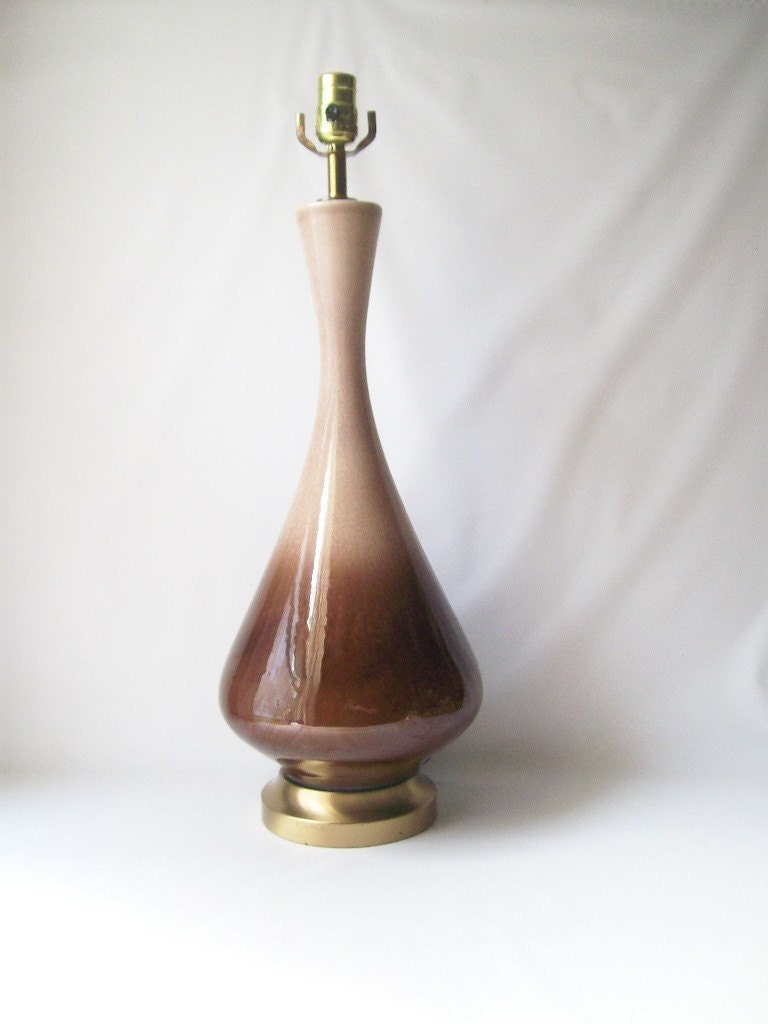
My living room was built without an overhead light. This requires that we fill the room up with lamps, but that can get pricey. I found an odd little table lamp with an interesting shape at the thrift store for $2.50. I'm always up for a challenge, so I scooped the little bugger up and headed off to find some hot pink spray paint. Much to my dismay, there really wasn't a pink bold enough to satisfy my need, so I settled on a color called raspberry from Krylon. I taped off all the electrical components and used a coat of spray primer, followed by two coats of raspberry. I completely forgot to get a before pic, but the lamp had a brown ceramic drip glaze like this one:
 Next I took a plain white square (or parallelogram) lampshade from Target and covered it in fabric by Paula Prass called Zinnia Path. If you are using a solid or repeating patterned fabric you can lay the shade down directly on the fabric and use it as a template, flipping it as you go, for one solid fabric piece.
Because the fabric I chose, has a clear "top" and "bottom" in the pattern, I chose instead to cut four individual pieces for each side of my shade.


Here is a picture of my lamp after:

Because the fabric I chose, has a clear "top" and "bottom" in the pattern, I chose instead to cut four individual pieces for each side of my shade.


I used spray adhesive to cover the lampshade and then add each fabric section, one at a time, allowing time for each side to dry. Simply smooth out any air bubbles, until the fabric lies flat. (warning, you're fingers are about to get really sticky!) Next, I took turquoise ribbon that was 7/8" wide and applied one section at a time to each corner, to cover the seams.

When applying the ribbon to the top or bottom, you will be folding it over the edge. It is helpful to use clips to hold the ribbon down as the glue dries.

Here is a picture of my finished lamp:

Damn, that turquoise ribbon is HOT!
ReplyDeleteLove it! I hate pink but love this lamp
ReplyDelete